はじめに
ラズパイのケースのファンが出す騒音が問題になっていました。
ここで音を遮断するために例えば、レゴで壁を造って密閉したりすると、熱がこもってしまう懸念もあります。
このため、ファンの設定を定義することで対応しようとしました。
それでもうるさかったのでもがいた記録です。
最初に結論から
最初に結論から述べると、v5からv3.3に変更したら騒音が結構改善されました(笑)
ファンの掃除
よく、エアコンの騒音がフィルターを掃除したら直ったということも聞くので、まずはファンの掃除から対応しました。
beforeの写真は以下。
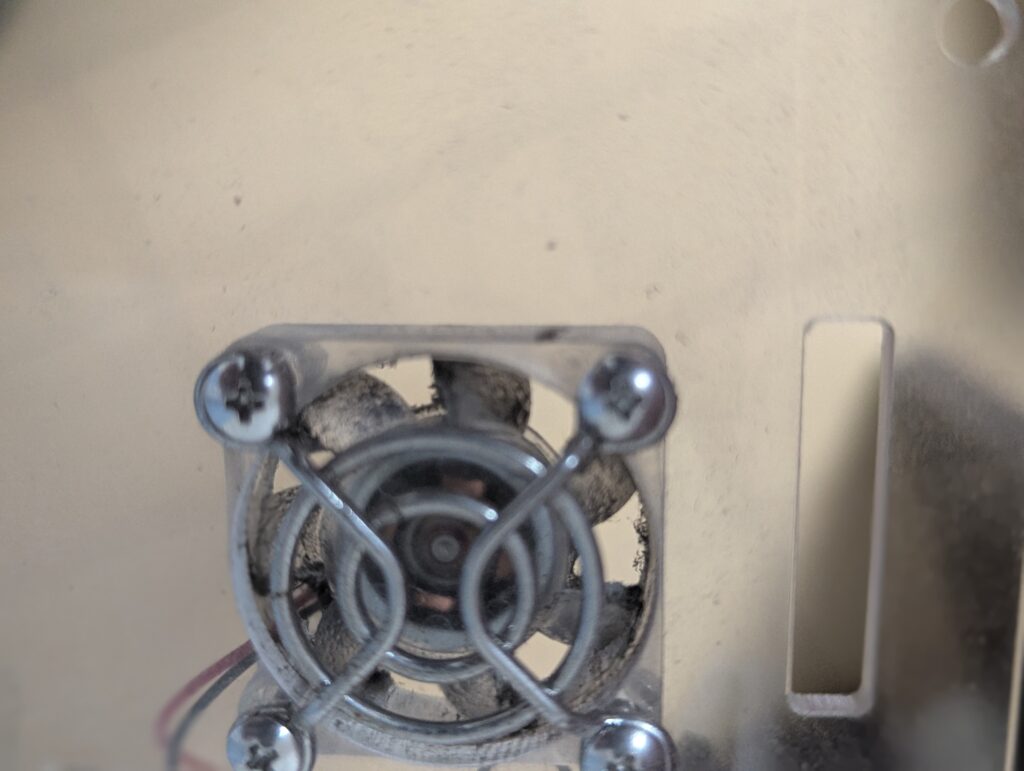
afterの写真は以下。
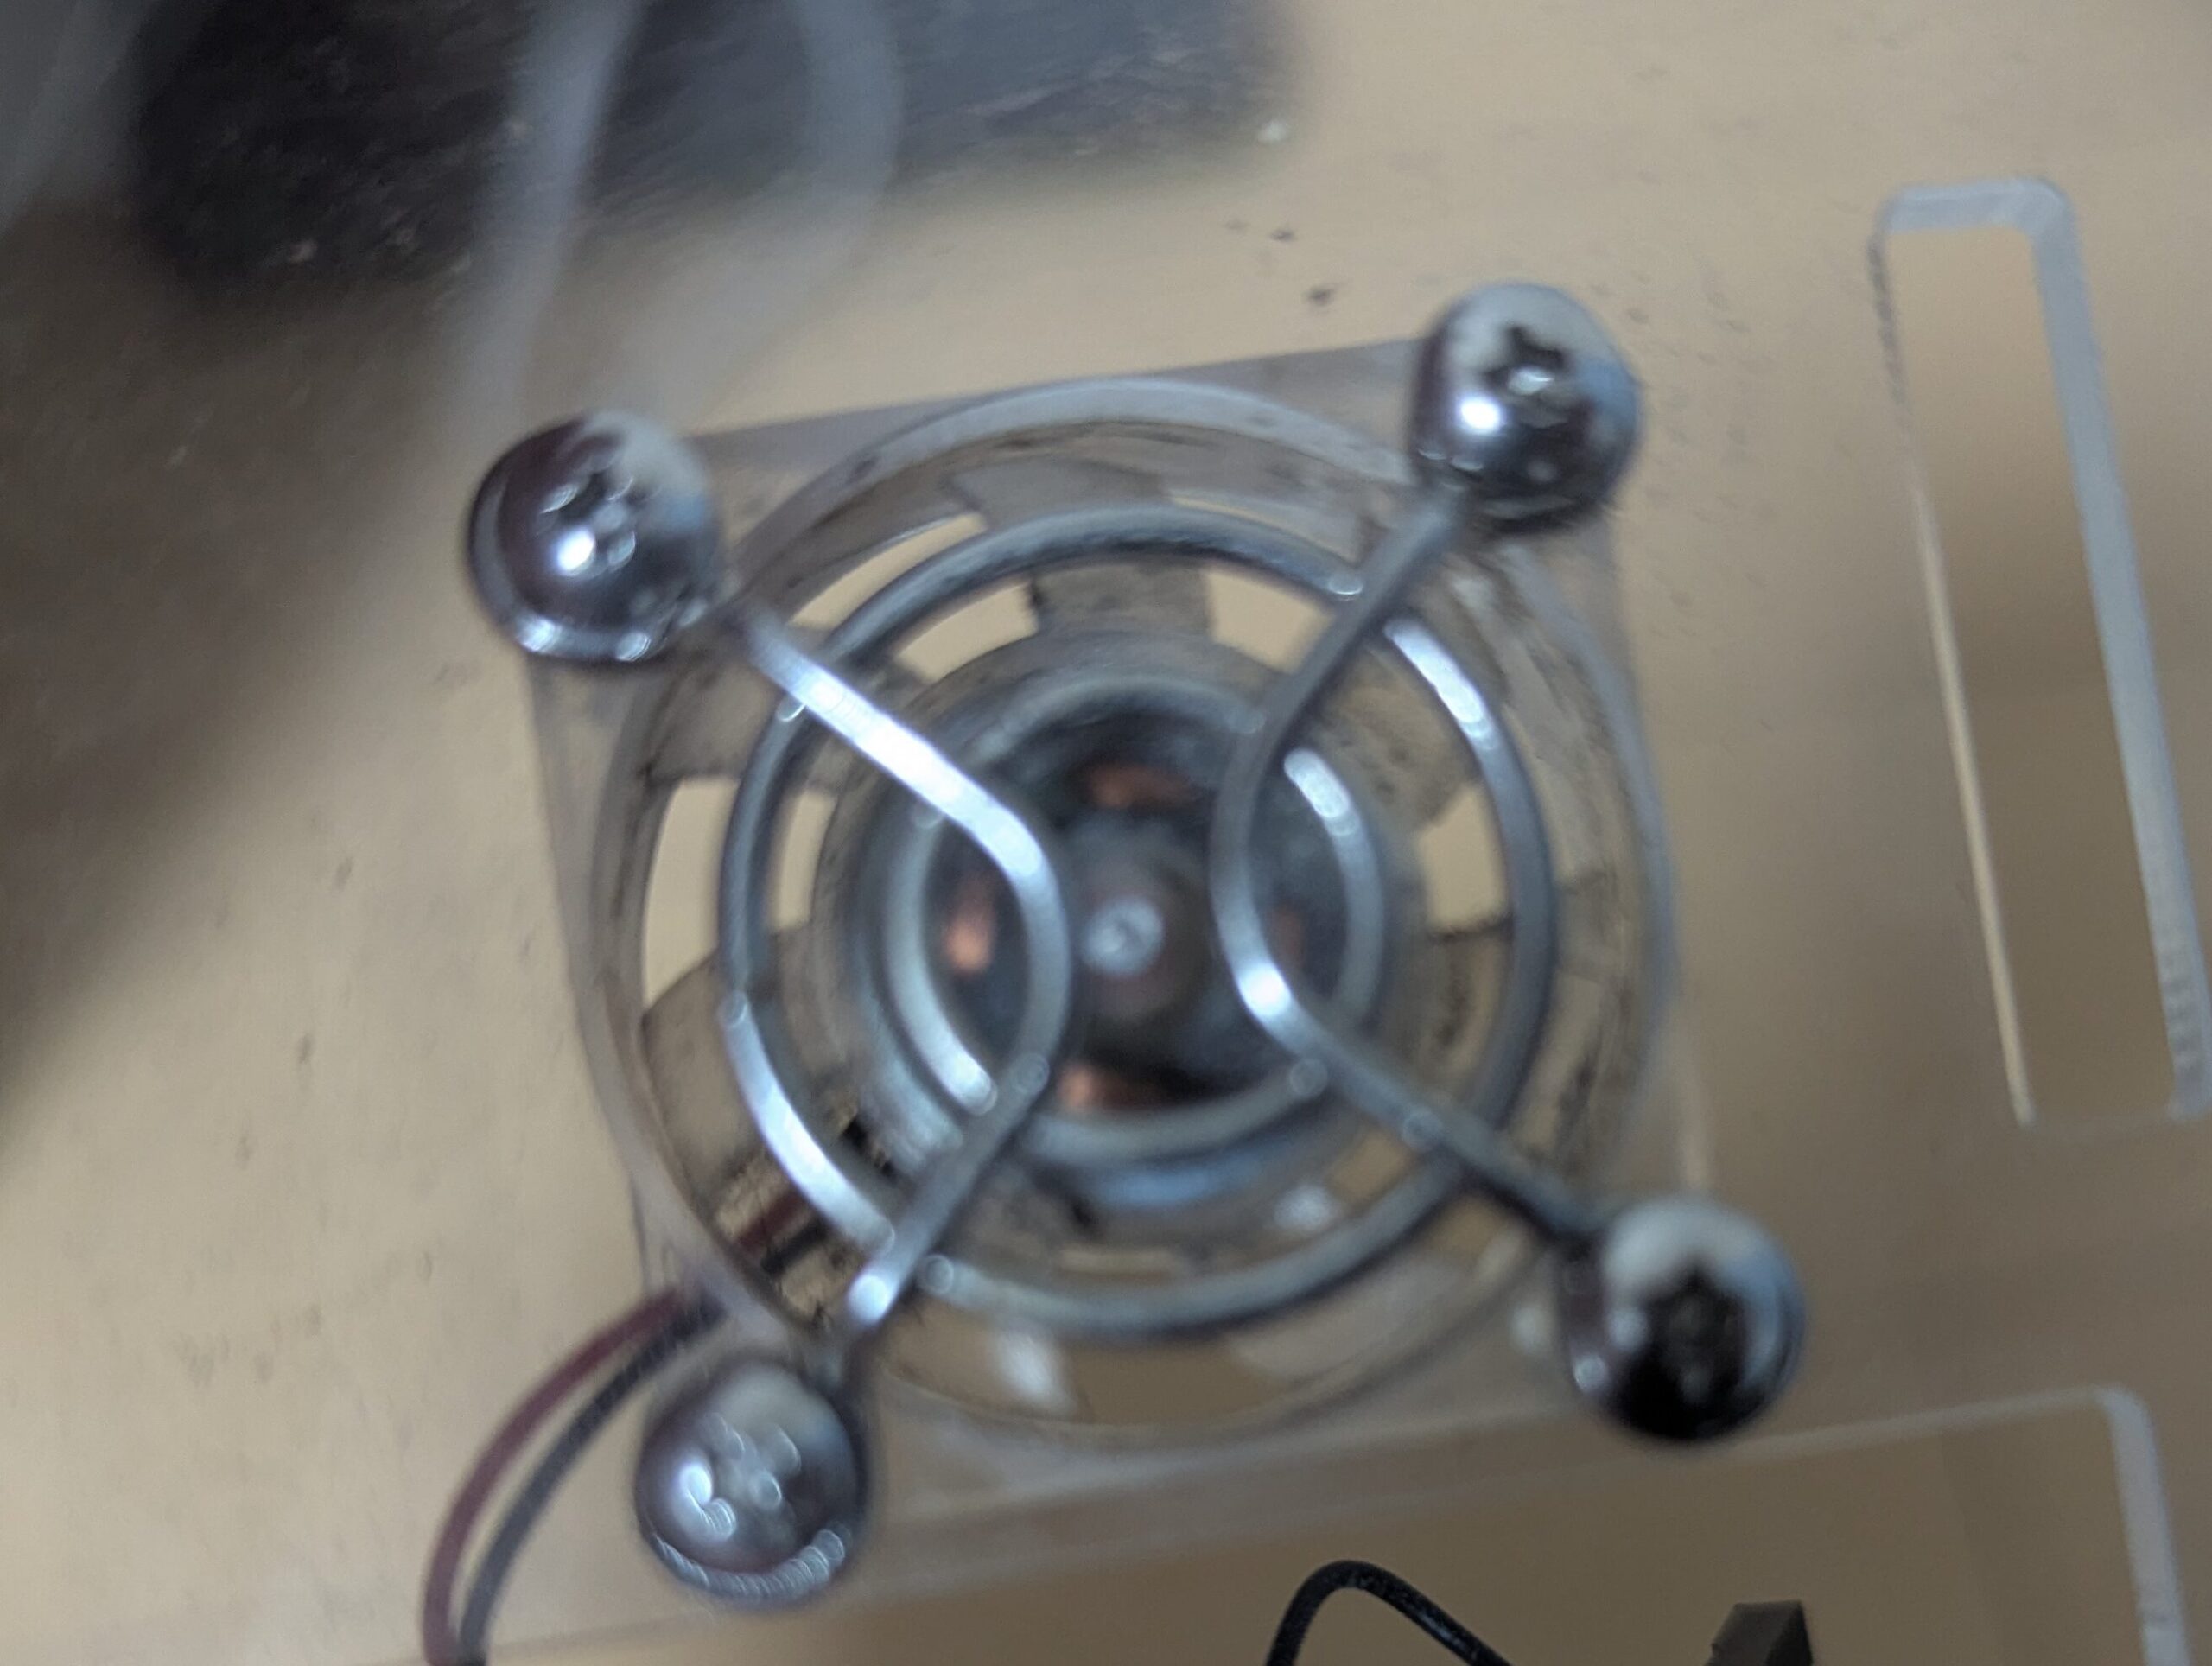
掃除しましたが、まだ、ファンはうるさいです。
ファンの設定
そしてファンの設定をします。
参考にさせていただいたのは以下のサイトです。
参考: https://qiita.com/matoruru/items/8d5b64f0f41ec66ab1a2
以下の設定を「/boot/firmware/config.txt」ファイルに加えます。
dtoverlay=rpi-poe-plus
dtparam=poe_fan_temp0=60000,poe_fan_temp0_hyst=2000
dtparam=poe_fan_temp1=70000,poe_fan_temp1_hyst=2000
dtparam=poe_fan_temp2=80000,poe_fan_temp2_hyst=2000
dtparam=poe_fan_temp3=85000,poe_fan_temp3_hyst=5000
で、これで騒音が解消したのかというと、そういう訳ではありませんでした。
まだ、ファンがうるさいなと思う時はたびたび起きました。
CPUの温度のmonitoring実装へ
そもそも、CPUが高温になってしまっているのでは?と思ったので、CPUの温度の値の可視化をしようとしました。
VictoriaMetricsにCPUの温度を出力させます。
今回はhelmfileで実装することにします。
helmfile
helmfileのファイル構成は以下のようになっています。
.
├── get_metrics_python
│   ├── charts
│   │   └── python_metrics
│   ├── dockerfile
│   │   ├── Dockerfile
│   │   └── python_codes
│   └── helmfile.yaml
├── helmfile.yaml
├── storage
│   ├── helmfile.yaml
│   └── local-path-provisioner
└── victoriametrics
    ├── helmfile.yaml
    └── vm-values.yaml
一番上の階層にいるhelmfile.yamlの中身は以下です。
helmfiles:
  - ./storage/helmfile.yaml
  - ./victoriametrics/helmfile.yaml
  - ./get_metrics_python/helmfile.yaml
Victoria Metrics
victoriametricsフォルダの中にあるhelmfile.yamlの中身は以下になります。
repositories:
  - name: vm
    url: https://victoriametrics.github.io/helm-charts

releases:
  - name: victoria-metrics
    namespace: monitoring
    chart: vm/victoria-metrics-cluster
    values:
      - vm-values.yaml
vm-values.yamlの中身は以下。
vmselect:
  replicaCount: 2

vminsert:
  replicaCount: 2

vmstorage:
  replicaCount: 2

  persistence:
    enabled: true
    storageClass: local-path
    size: 1Gi
    accessModes:
      - ReadWriteOnce
storage
ファイル構成に
├── storage
│   ├── helmfile.yaml
│   └── local-path-provisioner
という部分がありましたが、こちらのlocal-path-provisionerフォルダは以下でダウンロードしてきたものをそのまま使用しています。
$ git clone https://github.com/rancher/local-path-provisioner.githelmfile.yamlは以下のようになっています。
releases:
  - name: local-path-storage
    namespace: local-path-storage
    chart: ./local-path-provisioner/deploy/chart/local-path-provisioner
    values:
      - storageClass:
          create: true
          name: local-path
          defaultClass: true
Victoria MetoricsへCPUの温度情報を送る
そもそもラズパイのcpuの温度は以下で取得できます。
def get_cpu_temp():
    with open("/sys/class/thermal/thermal_zone0/temp") as f:
        return float(f.read().strip()) / 1000.0

if __name__ == "__main__":
    print(f"CPU Temp: {get_cpu_temp():.1f} °C")
実行してみると、CPUの温度は以下のように取得できます。
$ python3 get_metrics.py
CPU Temp: 40.9 °C
この設定をk8s内で使用するためにhelmに組み込みます。
helmの中に組み込む
上記で記載のhelmfileの全体ディレクトリ構成から抜粋しますが、python部分は以下のようになっています。
├── get_metrics_python
│   ├── charts
│   │   └── python_metrics
│   ├── dockerfile
│   │   ├── Dockerfile
│   │   └── python_codes
│   └── helmfile.yaml
そして、このpython部分の詳細(さらに深い層)は以下のようになっています。
├── charts
│   └── python_metrics
│       ├── Chart.yaml
│       ├── templates
│       │   └── daemonset.yaml
│       └── values.yaml
├── dockerfile
│   ├── Dockerfile
│   └── python_codes
│       └── get_cpu_temp.py
└── helmfile.yaml
まず、今回のVictoria Metoricsの環境に合わせて、上記pythonコードを以下のように変更します。
import requests
import time

def get_cpu_temp():
    with open("/sys/class/thermal/thermal_zone0/temp") as f:
        return float(f.read().strip()) / 1000.0

while True:
    temp = get_cpu_temp()
    data = f"rpi_cpu_temperature_celsius {temp}\n"

    r = requests.post(
        "http://victoria-metrics-victoria-metrics-cluster-vminsert.monitoring:8480/insert/0/prometheus/api/v1/import/prometheus",
        data=data,
        timeout=5,
    )

    print("status:", r.status_code, r.text)
    time.sleep(300)
次に、daemonset.yamlは以下のようになります。
apiVersion: apps/v1
kind: DaemonSet
metadata:
  name: python-metrics
spec:
  selector:
    matchLabels:
      app: python-metrics
  template:
    metadata:
      labels:
        app: python-metrics
    spec:
      containers:
        - name: python
          image: my_repo/metrics-python:v0.0.3
          command: ["sh", "-c"]
          args:
            - |
              pip3 install requests
              python3 /data/get_cpu_temp.py
          volumeMounts:
            - name: host-sys
              mountPath: /sys
              readOnly: true
      volumes:
        - name: host-sys
          hostPath:
            path: /sys
            type: Directory
これでvictoria metricsのUIからメトリクスを検索してみると、確認することができました!!
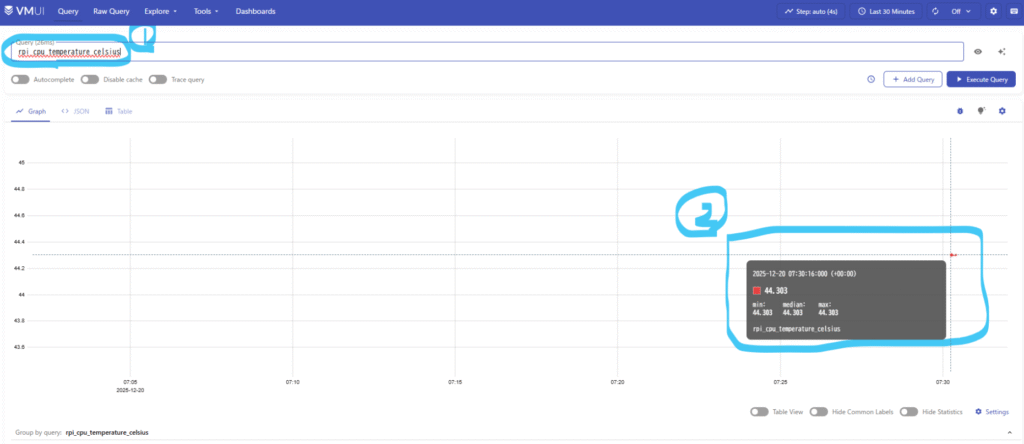
これでCPUがどんな状態の時にファンがうるさくなるのかを確認できるようになりました。
最後に、、、3.3Vしたら静かになった(笑)
ここまで色々試しましたが、結論は上記に記載の通り、3.3Vにしたら治まりました。
いや、まだ少しうるさいですが、5vよりはかなりましになりました。